FREE DELIVERY ON ORDERS OVER £80 (EXCLUDING HEAVY ITEMS)
CLICK AND COLLECT FREE
INTERNATIONAL DELIVERY


TRENDING PRODUCTS

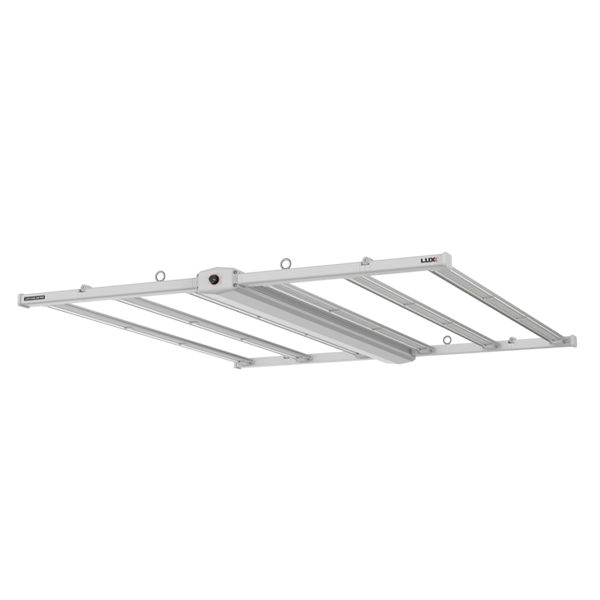
LUXX 645w LED Pro V3 (Foldable)
WHO ARE WE?
Progrow Hydroponics Stores, online and instore
Established in 2001 Progrow is the South West’s regional centre for hydroponics and specialist gardening equipment.
With one of the largest retail shops in England, our comprehensive range of products cater for the needs of a wide range of horticultural applications making it possible to grow virtually any type of plant in existence. Our list of clients includes commercial and hobby growers, schools, universities, horticultural colleges and display centres and we also act as consultants for television and film companies representing hydroponics in their productions.
Further to this we run one of the UK’s most highly regarded e commerce websites catering for mail order customers throughout the UK, Europe and worldwide. Our expert IT team aim to make your online shopping experience simple, efficient and as close as it can be to visiting us in person.
Because we appreciate that sometimes there is no better way to shop than being able to see and touch the items you are interested in, we welcome all of our customers to visit our purpose built facility in Exeter and Plymouth where our showroom displays a huge range of hydroponic growing systems, plant lighting and environmental control equipment. Our knowledgeable members of staff are more than happy to give you a demonstration of the products you are interested in and you can also see our systems in action in our fully operational indoor grow room!
Our outstanding level of customer service combined with our specialist knowledge and friendly advice is the reason why Progrow has become the number one choice for so many growers both amateur and professional.
HYDROPONICS?
We love hydroponics and indoor grow rooms…
Hydroponic gardening is a way of growing plants which gives us the ability to control all aspects of their growth and development. With careful control, plants can flourish to a far greater extent than those grown naturally in soil.
The reasons for this staggering growth is the ability to allow the roots of the plant open access to oxygen by leaving them exposed to the air, plus the ability to provide the plants with an unlimited supply of nutrients which are added directly into the water supply, which in turn is also unlimited.
It follows that if the advantages of hydroponics are based on maintaining a high level of control at the root zone, then to maximise results further you must have the same level of control over the other aspects of that environment. Namely, temperature, light and humidity. This can only be done by growing plants indoors.
In addition, growing indoors in a controlled environment means the plants can remain free of pests and soil carried diseases.
These days all the tools you need to grow plants indoors are readily available, and technological advances mean they are improving all the time. Lighting systems, fans, Co2 generators and atmospheric controllers combined with a quality hydroponic system mean that you can supply your plants with the optimum environment for their growth, which can be tailored to suit the species you are growing. In Britain, where our climate can alter drastically in a matter of hours and our levels of sunlight are often limited by cloud cover, indoor gardening is an ideal solution.
EXPERTS
We are the UK’s #1 hydroponics and indoor gardening experts
Our team is dedicated to giving expert support to the hydroponics and indoor growing community. We’ve been in the hydroponics business since 2001, and have knowledgeable staff to help give advice on a variety of subjects related to hydroponics and indoor gardening. You can get advice by calling our telephone number, emailing us or visiting one of the local stores.
POPULAR BRANDS


