Here’s how to utilises three very useful innovations of the growing world.
A Loft tent, an air-cooled lighting system and an 8 pot Autopot system.
A Loft Tent or any pitched grow tent allows a garden to be put in a loft space that can sit between the joists. It’s tapered shape allows it to sit nicely in the pitch of a roof. Whilst it is not as tall as a regular 2m tent, it still provides a very usable growing space.
Air cooled lighting is a very popular choice for the summer. As the summers ambient temperature rises it can cause a negative knock on effect to a grow room if you can’t adequately control the temperature. Air cooled lighting allows you to move the heat from a lamp by blowing or sucking through air cooled hoods.
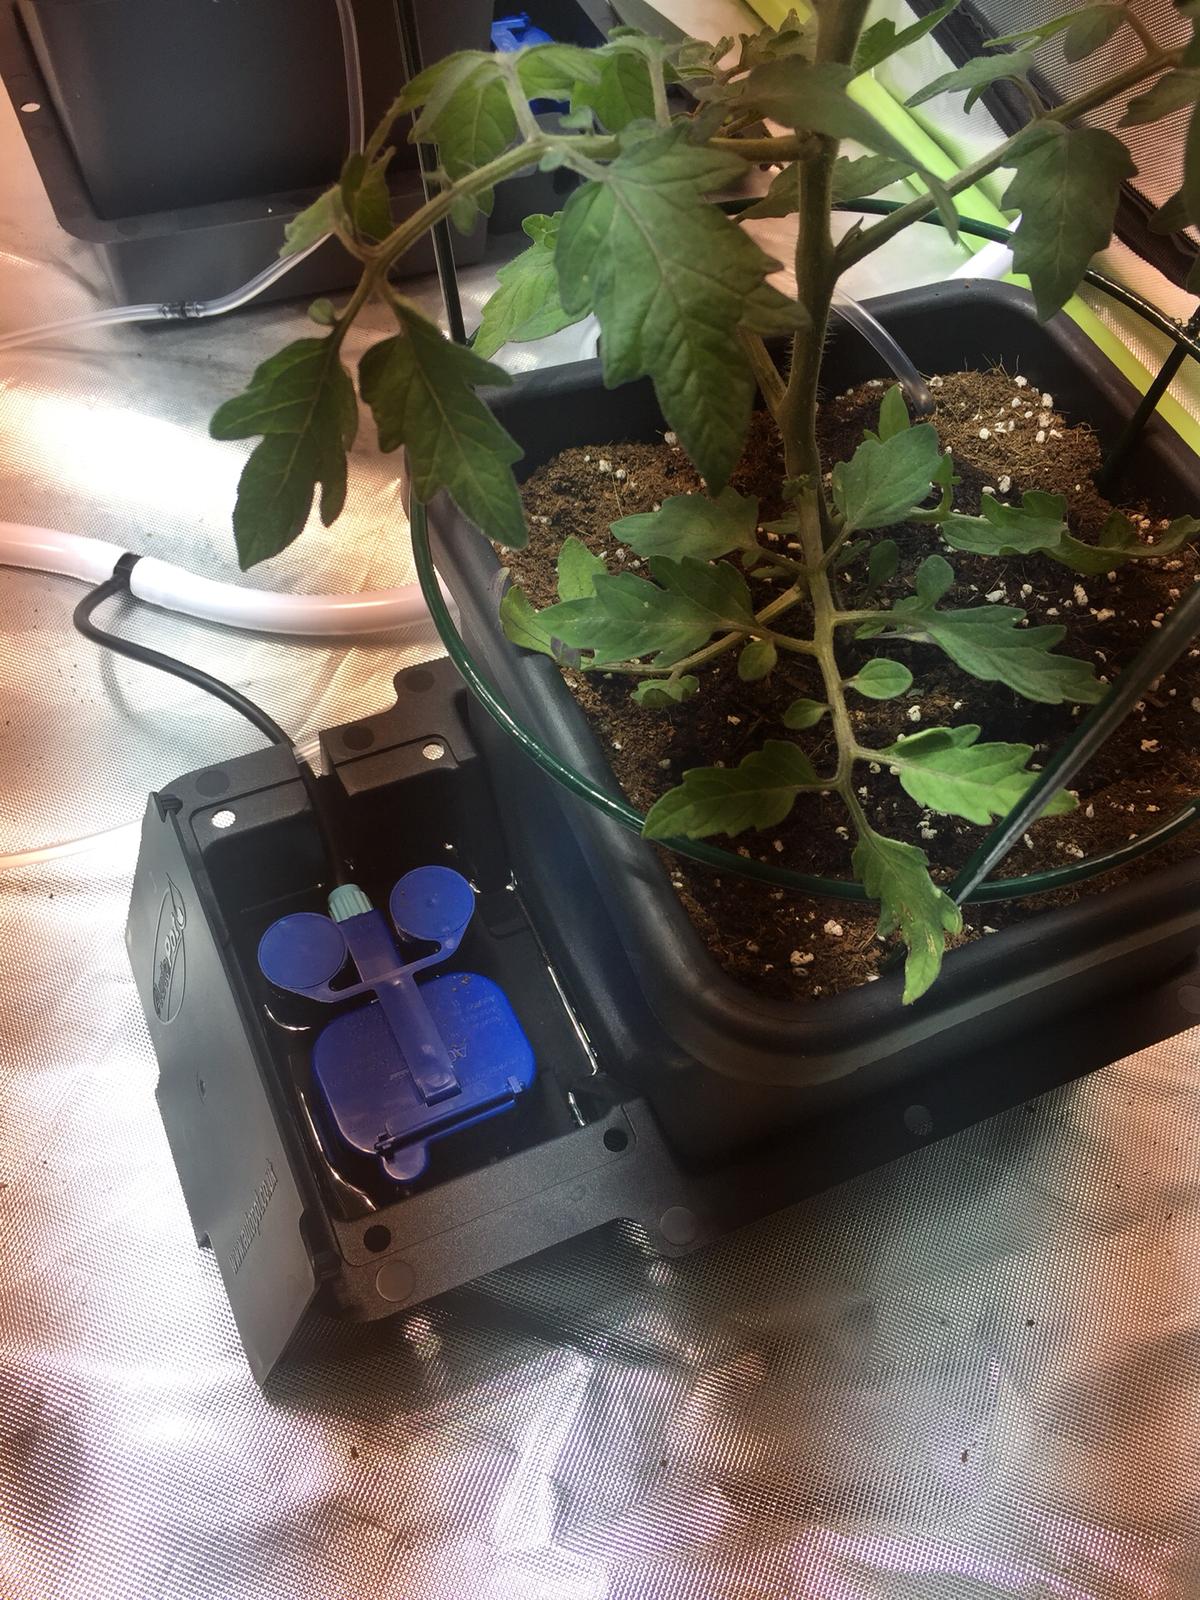
Autopot systems are a low maintenance and self-watering. These are great if you can’t tend to your garden daily or just want to put in minimal effort. A system that takes care of itself with minimal maintenance is a great time saver and very easy to use.
What you’ll need before starting
- BudBox Loft Tent 2.4m x 1.2m x 1.8m
- 2 x Air-cooled Hoods
- 2 x Digital/Analogue ballasts (we are using 400w analogue)
- 2 x HPS or MH lamps (we are using 400w MH lamps)
- 1 x RVK 150E2L
- 1 x Autopot Kit (we are using 8 pots)
- 1 x Air Dome Kit (we are using 8 domes)
- GHE CocoTek
Step 1
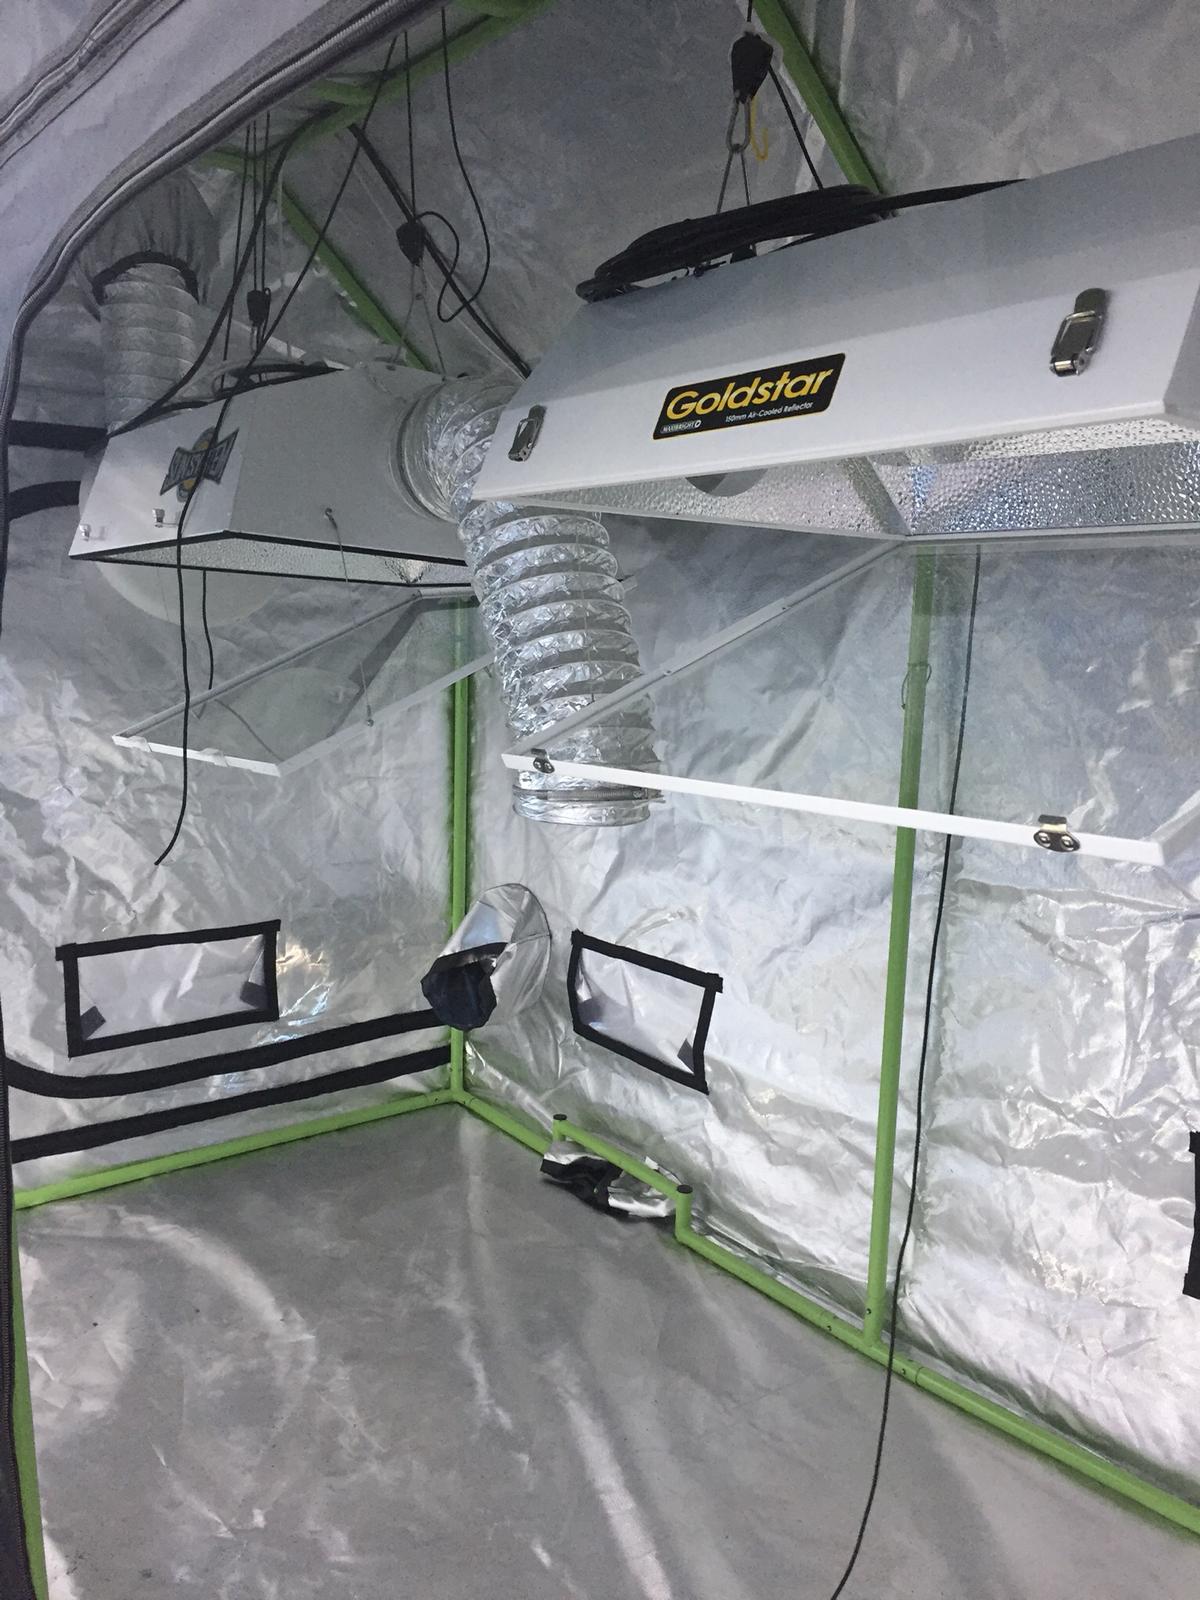
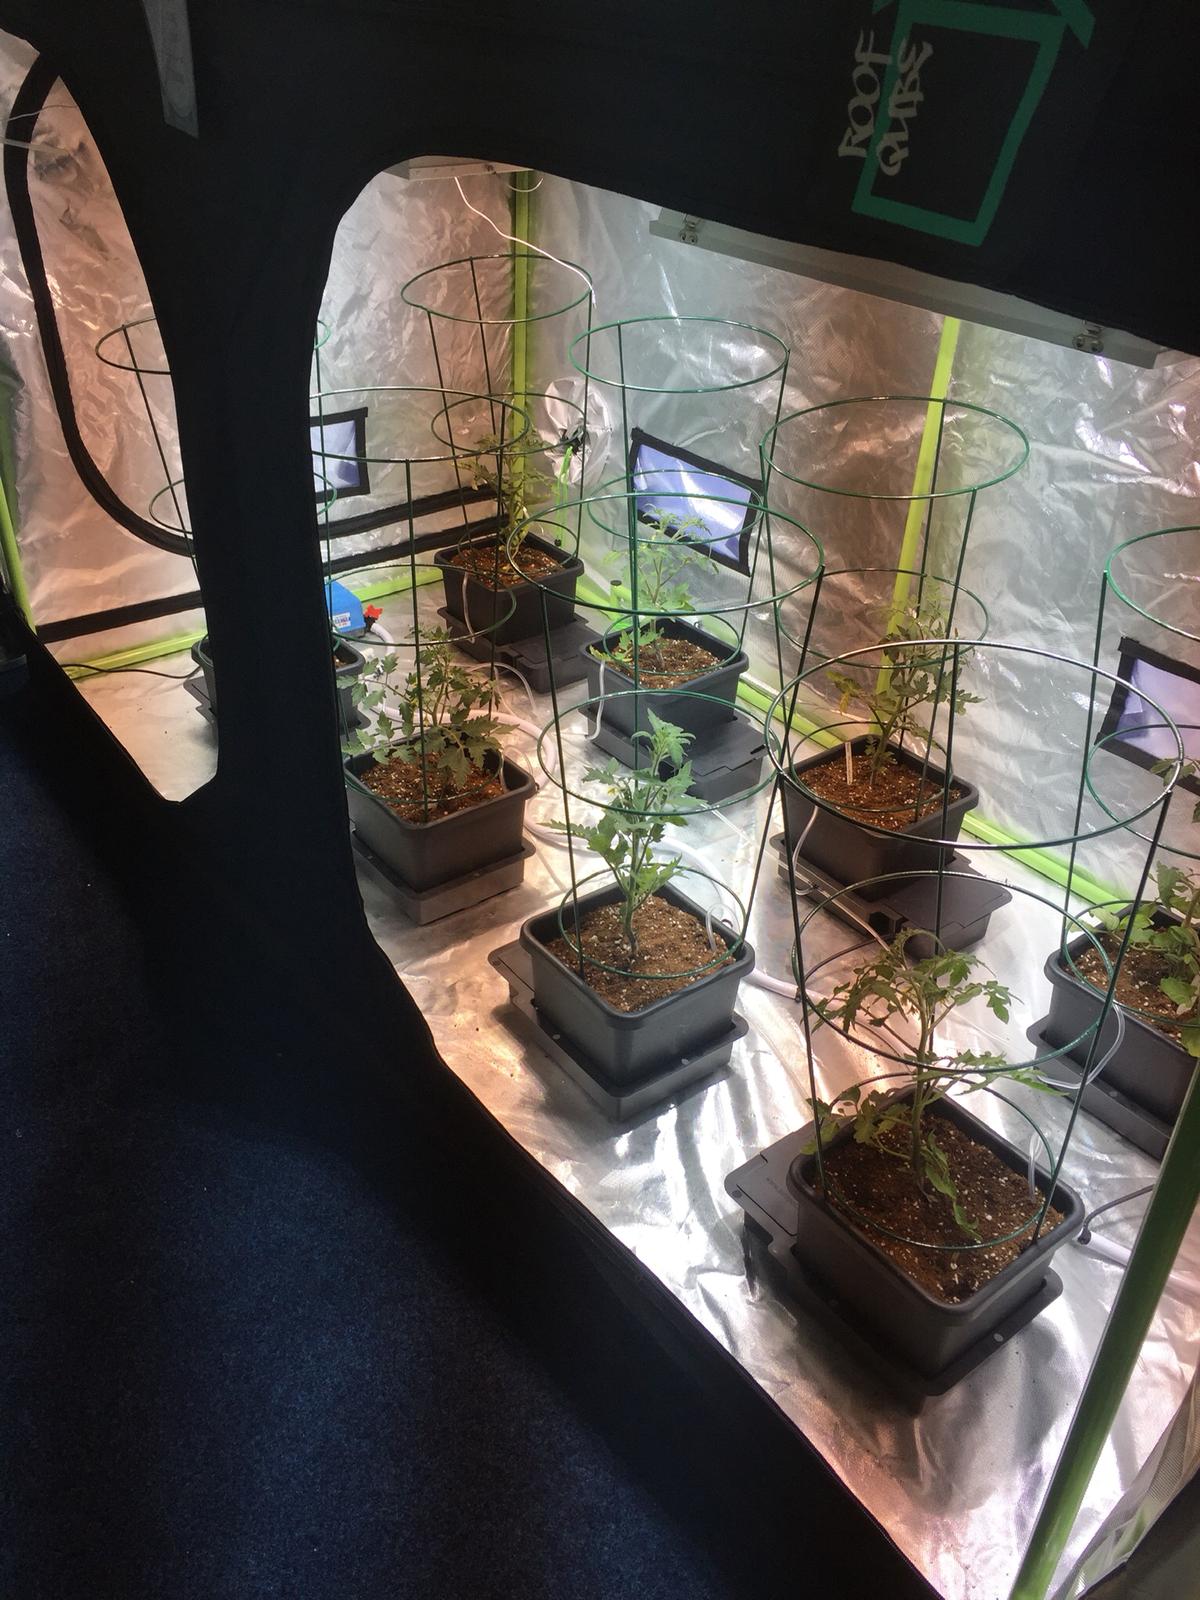
Set up the tent, install air-cooled hoods, lamps, ducting and fan. Ballasts should be located at the rear of the tent.

Step 2
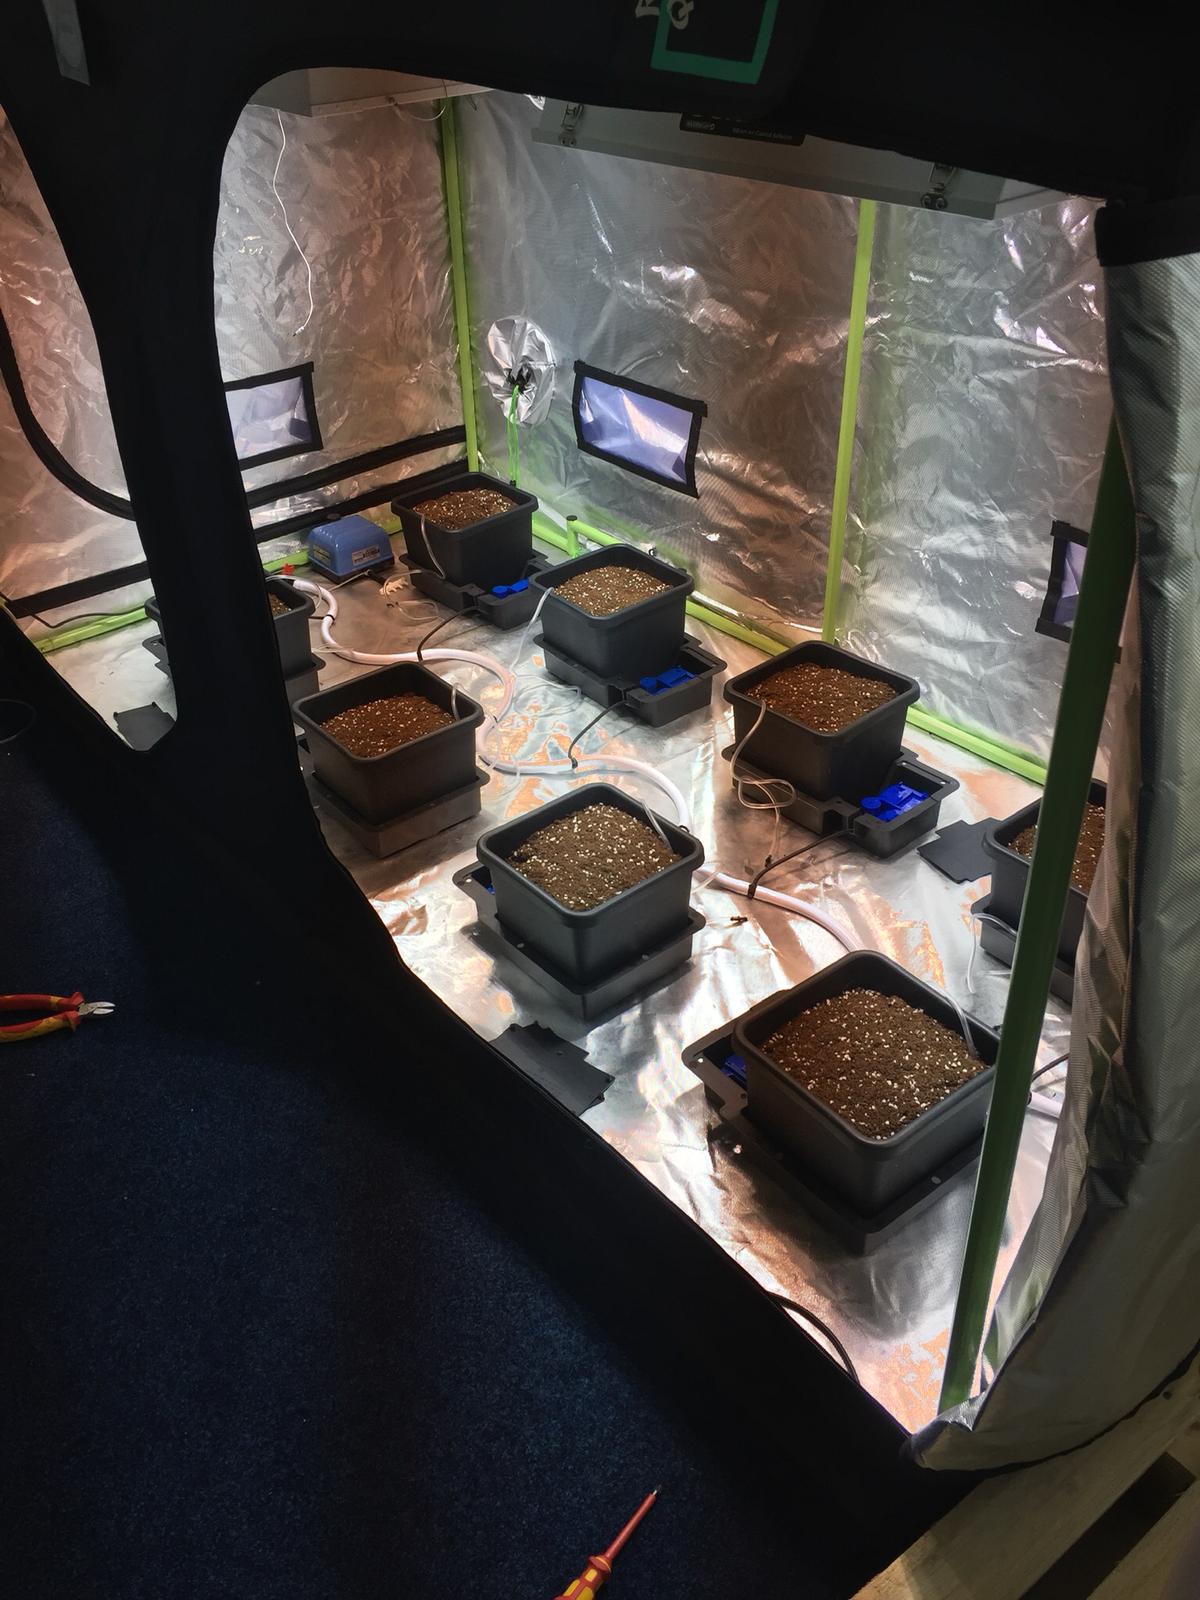
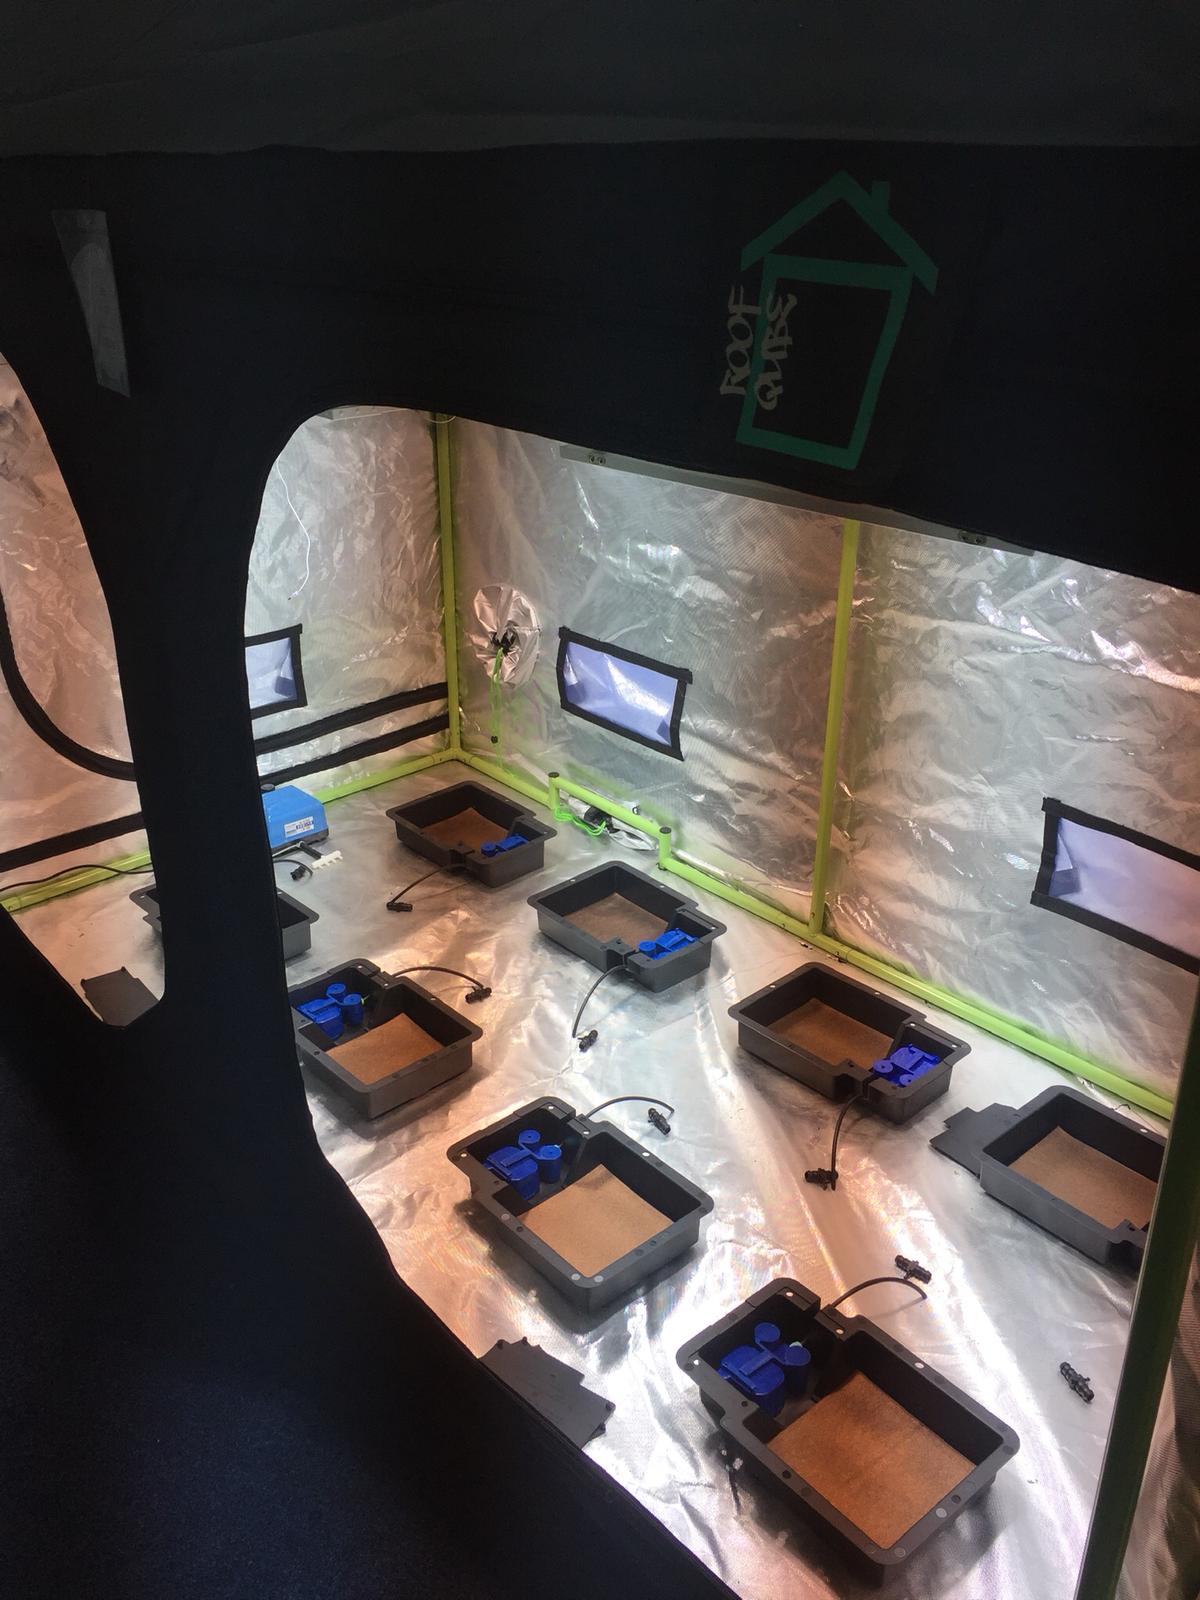
Measure and space the Autopot trays evenly in the tent. The air pump for the air domes is situated at the end of the tent. The copper root control discs need to be placed into the Autopot trays.
Step 3
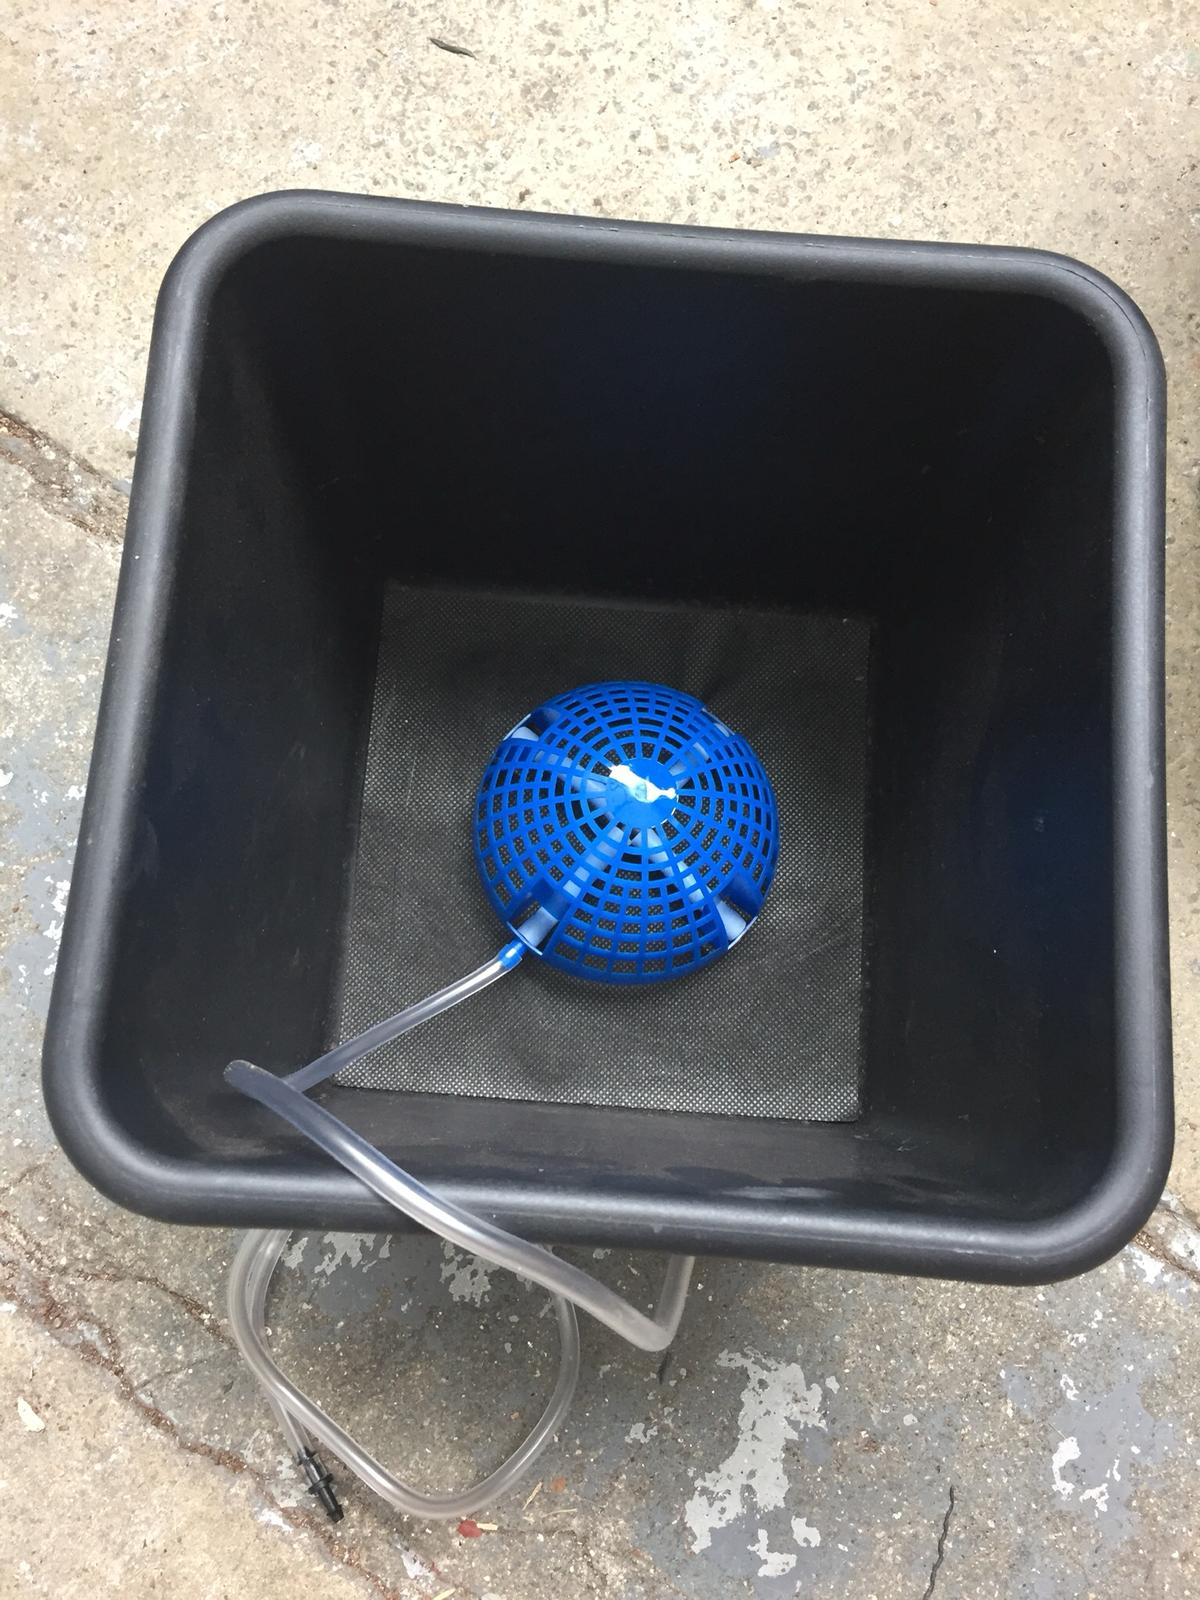
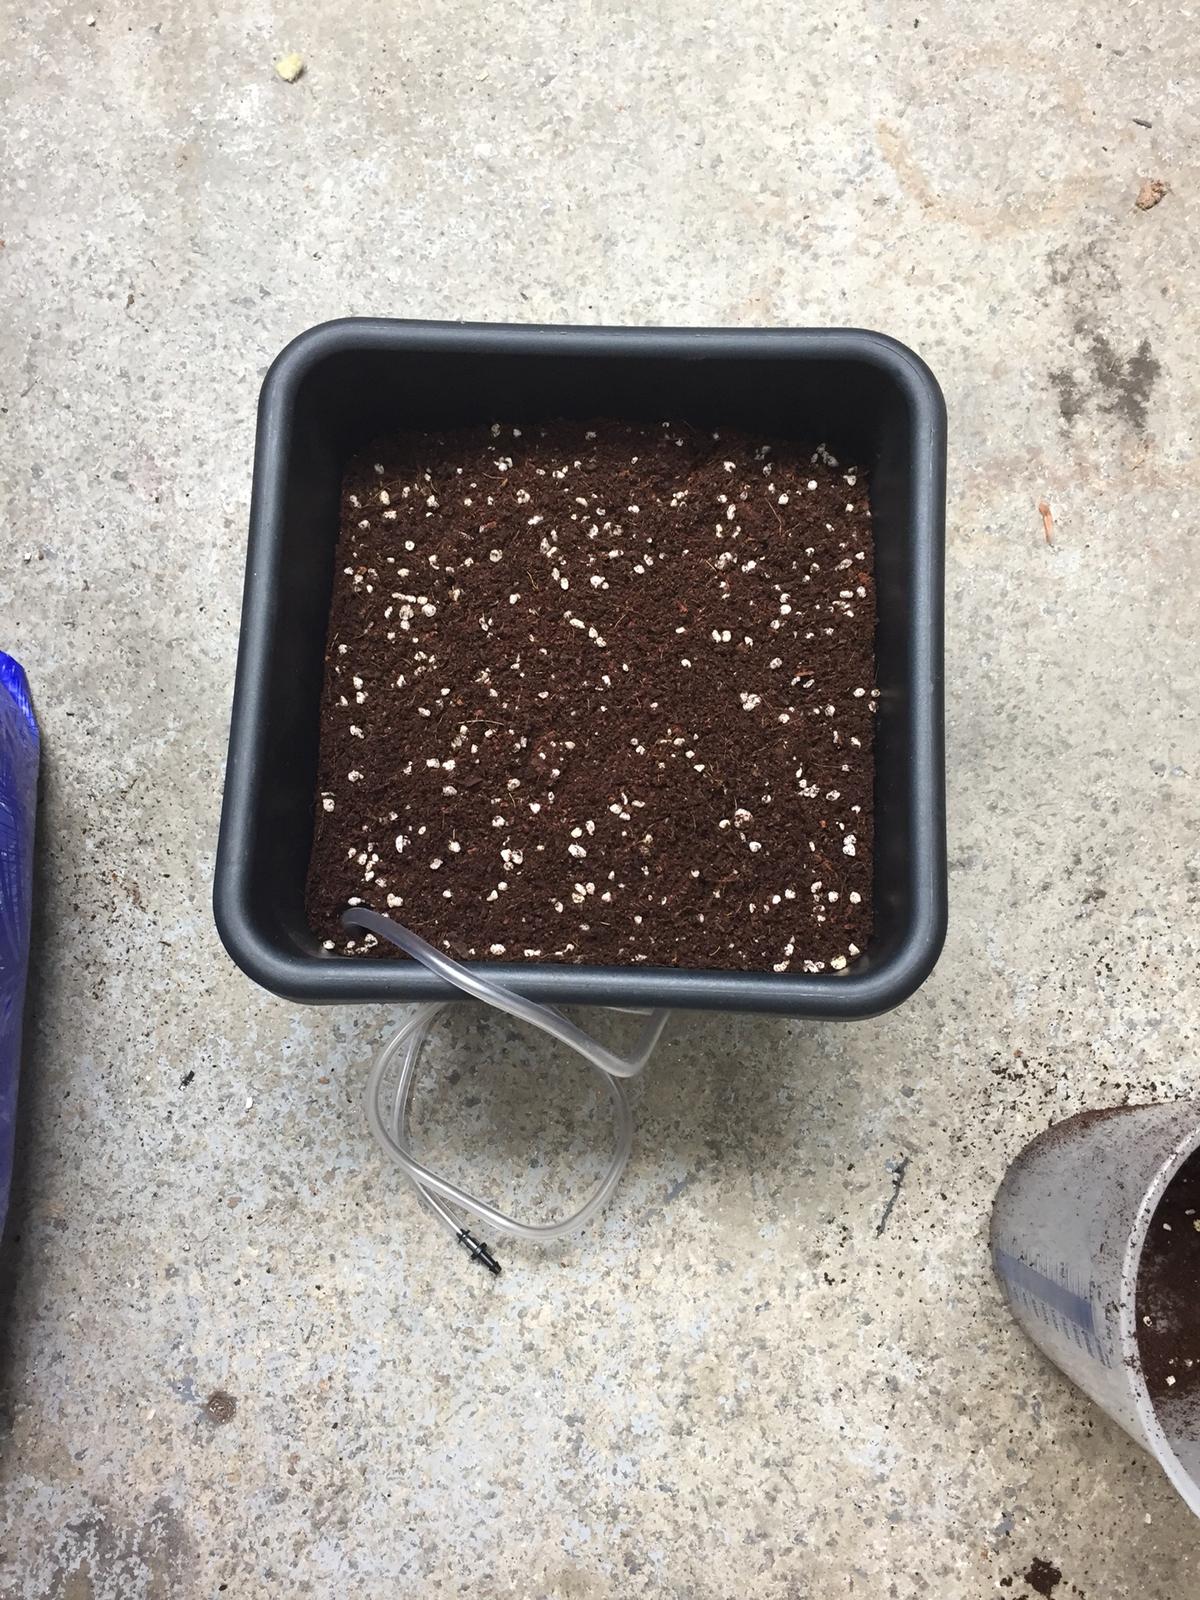
Install the air domes and marix discs into the pots. Covered with GHE Cocotek PX.
Step 4
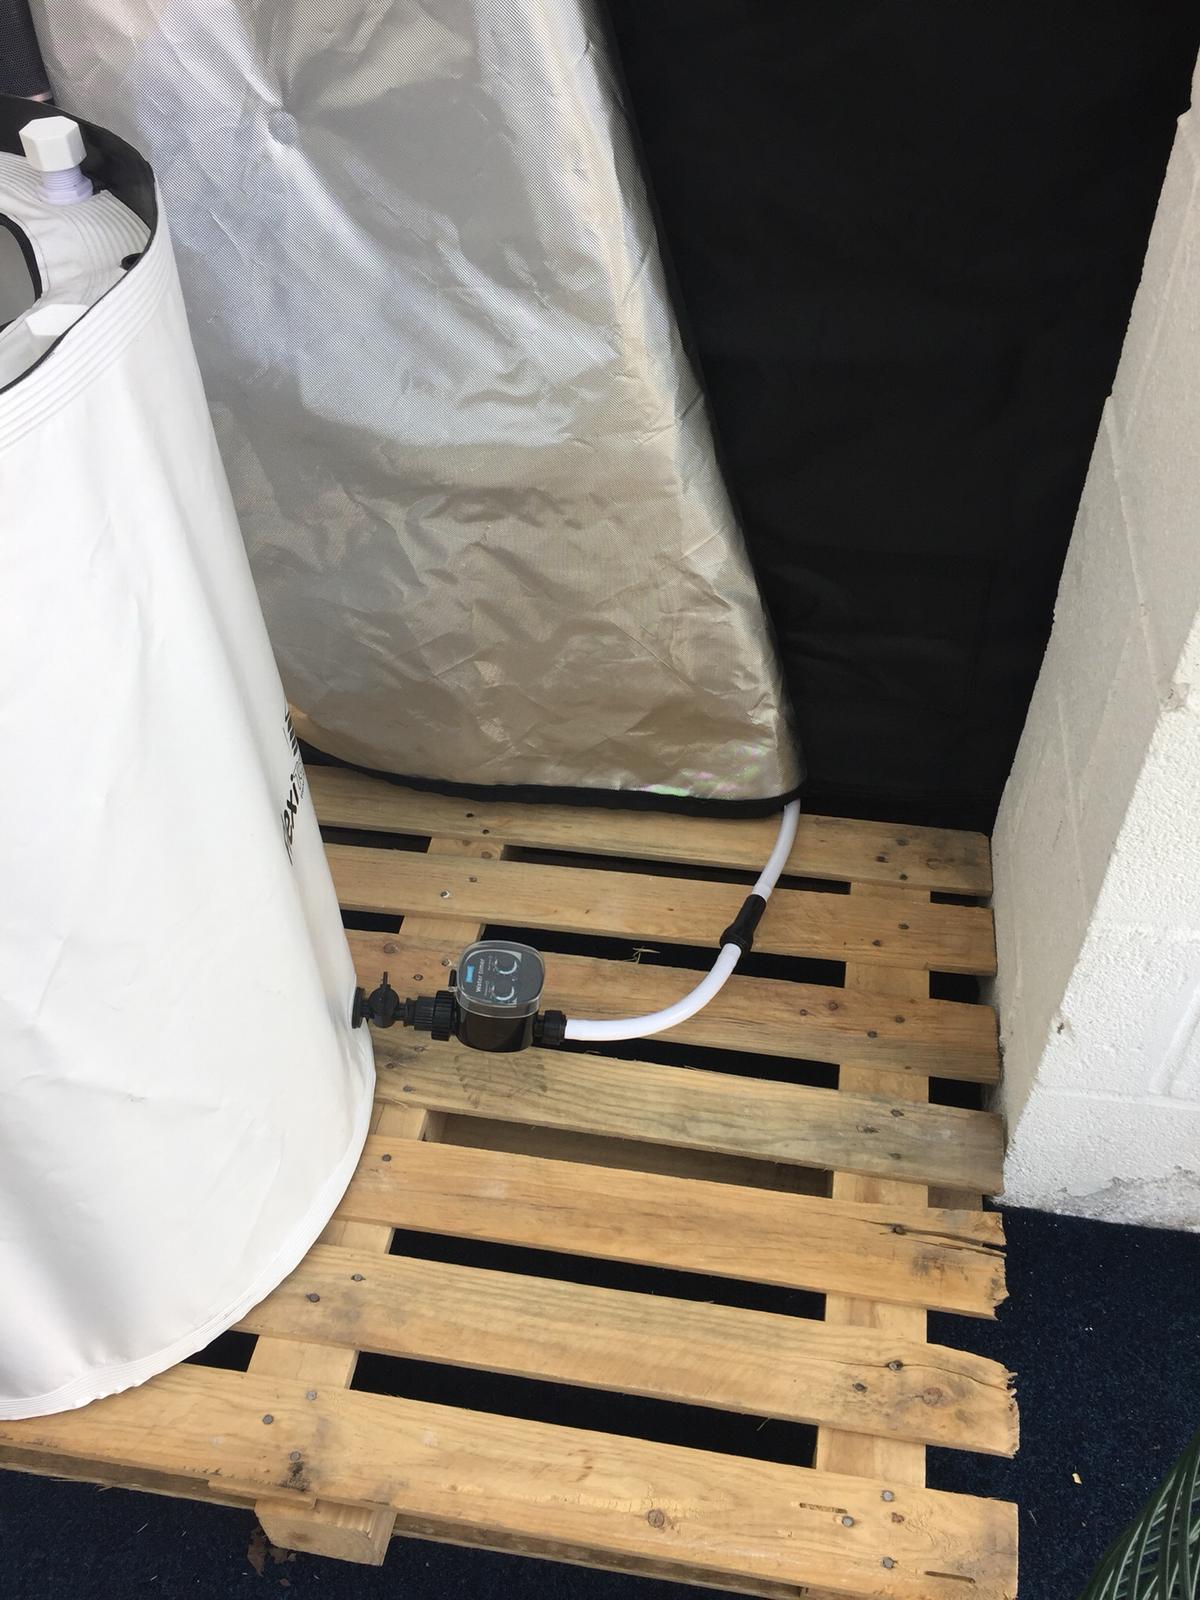
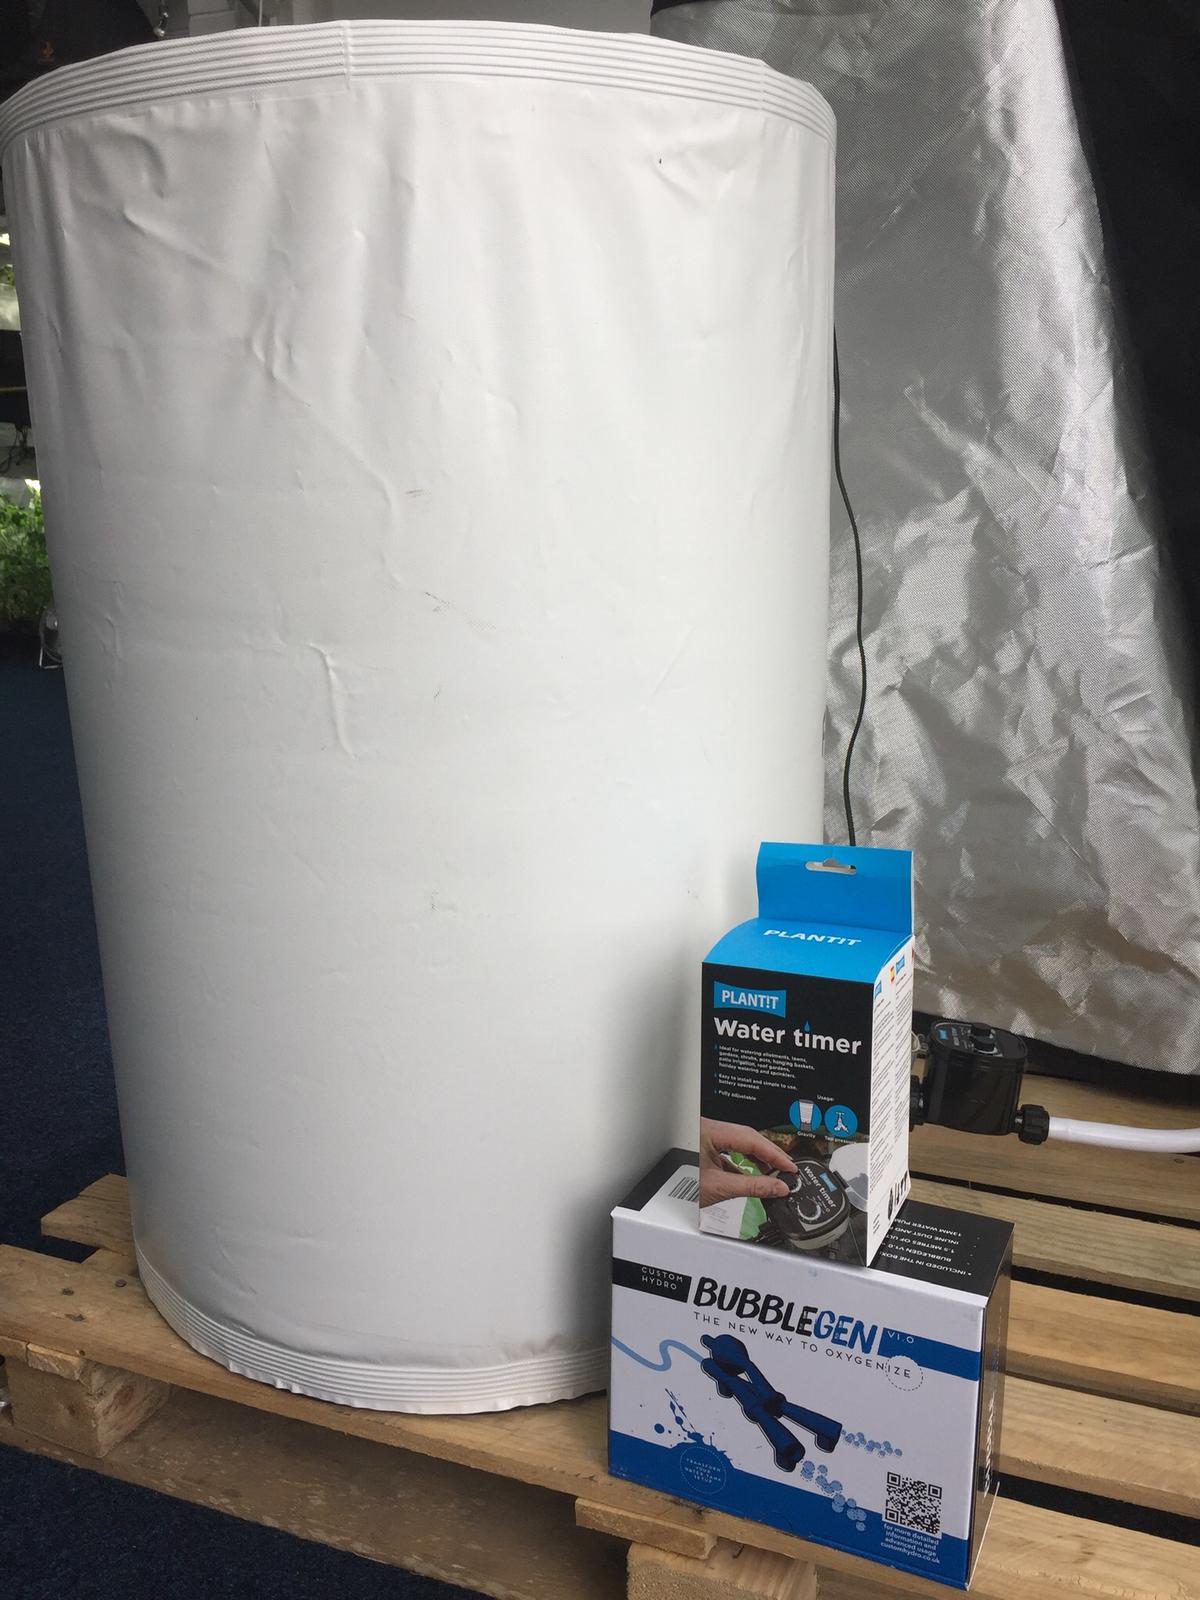
Install the reservoir and pipework connecting it to the Autopot. We have used a bubblegen in our 225ltr Flexitank Pro to help oxygenate and circulate the water. We also used a Plant!t water timer as an extra level of protection from flooding and it also regulates how much water the system receives.
Step 5
All pipework now completed and connected. Air domes all now connected so its time to pot your plants. We went with tomatoes and implemented trellises to help control their growth.
Step 6
Once the water has been turned on at the flexitank it’s time to check all pipework for leaks. If it’s all watertight then lastly check your valves. Make sure that they are not over flowing.
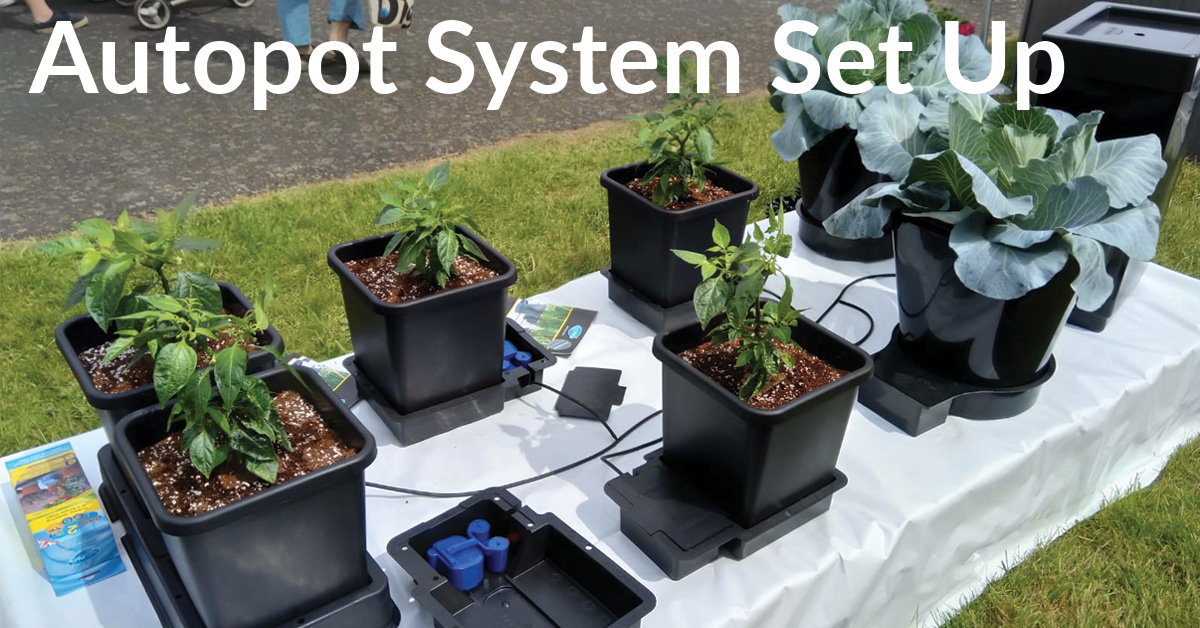
Displayed at Progrow Plymouth



Leave A Comment